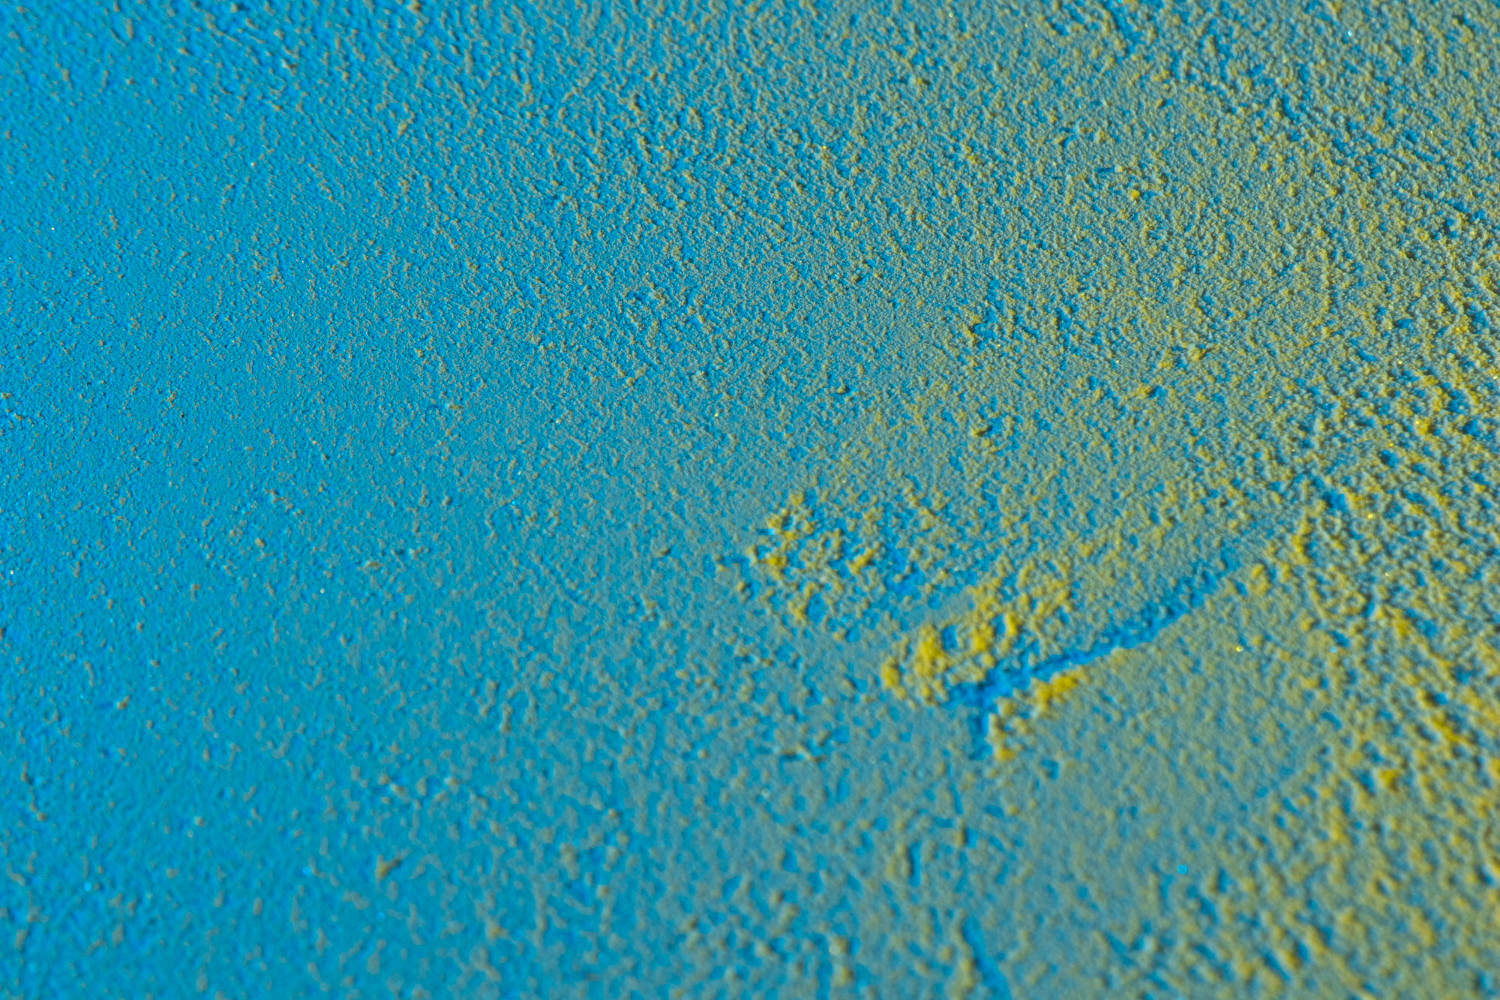
This can completely transform your walls, adding depth and personality to any space. Whether you’re working on interior wall texture or exterior wall texture, this guide will walk you through the process of applying this, ensuring a professional finish every time.
This is a specialized material applied to walls to create unique textures and finishes. It's used in both interior wall texture and exterior wall texture applications, providing a durable and attractive alternative to plain paint. Common types include acrylic, cement-based, and silicone-based coatings. Each type offers distinct benefits and elegance, making it adaptable for various projects.
Proper preparation is crucial to achieving the best results with texture coating. Here’s what you need to do:
Before you begin, gather all necessary materials and tools:
Texture Coating: Choose the appropriate type for your project.
Primer: Ensures better adhesion of the coating.
Application Tools: Trowels, rollers, or sprayers.
Mixing Tools: Buckets, mixing paddles.
Protective Materials: Drop cloths, painter’s tape, and safety gear.
Cleaning Supplies: Rags and appropriate cleaners.
Surface preparation is vital for a smooth application. Follow these steps:
Clean the Wall: Remove dust, grease, and grime. Use a mild detergent if necessary and let the surface dry completely.
Repair Damages: Fill in any cracks or holes with spackle or joint compound. Sand the surface smooth.
Apply Primer: Use a primer compatible with your texture coating material. This ensures better adhesion and durability.
Proper mixing is essential for consistent results. Here’s how to do it:
Measure the Coating: Pour the texture coating into a large bucket.
Add Water (if required): Follow the manufacturer’s instructions for the correct water ratio.
Mix Thoroughly: Use a mixing paddle attached to a drill to blend the coating until it’s smooth and free of lumps.
There are several methods for applying. Each method produces a different finish, so choose based on the desired effect.
Using a trowel is ideal for creating specific textures:
Load the Trowel: Scoop some texture coating onto the trowel.
Apply the Coating: Spread the coating onto the wall in an even layer.
Create Texture: Use the trowel to create the desired texture, such as a knockdown or skip trowel finish.
Roller application is efficient for covering large areas quickly:
Load the Roller: Dip the roller into the bucket.
Apply the Coating: Roll the coating onto the wall using a W or M pattern.
Add Texture: Roll in various directions to achieve a uniform texture.
A sprayer is excellent for achieving a fine, even texture:
Fill the Sprayer: Pour the texture coating into the sprayer.
Spray Evenly: Hold the sprayer at a consistent distance from the wall and apply in smooth, overlapping strokes.
Adjust Texture: Modify the nozzle settings to create different textures.
Allow it to dry completely. Drying times vary based on the material used and environmental conditions:
Interior Wall Texture: Usually dries within a few hours to overnight.
Exterior Wall Texture: May take longer, especially in humid or cold conditions.
Ensure the area is well-ventilated to help the coating dry evenly.
Applying a sealant can upgrade the durability and appearance of your texture coating:
Choose a Sealant: Select a sealant compatible with your coating material.
Apply the Sealant: Use a brush or roller to apply a thin, even layer over the dried coating.
Allow to Dry: Follow the manufacturer’s instructions for drying times.
Proper cleanup is essential to maintain your tools and workspace:
Clean Tools: Wash trowels, rollers, and sprayers with water or the recommended cleaner before the coating dries.
Remove Tape and Drop Cloths: Carefully peel off painter’s tape and remove drop cloths.
Dispose of Waste: Follow local regulations for disposing of leftover material and cleaning water.
Test First: Always test the coating on a small area to ensure the texture and color meet your expectations.
Work in Sections: Divide large walls into manageable sections to maintain a wet edge and consistent texture.
Keep Consistent: Apply the coating with steady pressure to avoid texture inconsistencies.
Monitor Conditions: Avoid applying texture coating in extreme temperatures or high humidity to prevent drying and texture quality issues.
Use Safety Gear: Wear protective gloves, goggles, and a mask to safeguard against splashes and dust.
Applying this is an effective way to upgrade the look and durability of your walls. By following this step-by-step guide, you’ll be able to achieve beautiful textured wall finishes that elevate your space. Whether you’re updating your home with interior wall texture or tackling a commercial project with exterior wall texture, these tips will help you get the job done right. From preparation to application, and even cleanup, mastering the process will ensure your walls look stunning and last for years to come.
1. What surfaces can I apply texture coating to?
You can apply this to various surfaces, including drywall, plaster, and concrete.
2. Can I apply texture coating to exterior walls?
Yes, It can be applied to exterior walls, using products specifically designed for outdoor use.
3. Is texture coating suitable for commercial spaces?
Absolutely! It is durable and adaptable, making it ideal for high-traffic areas in commercial interiors.
4. How do I maintain textured walls?
To maintain textured wall finishes, regularly dust and clean with a mild detergent. Address any damage promptly to prevent further issues.


