23,Dec,2024
DIY Decorcem Wall Overlay Projects

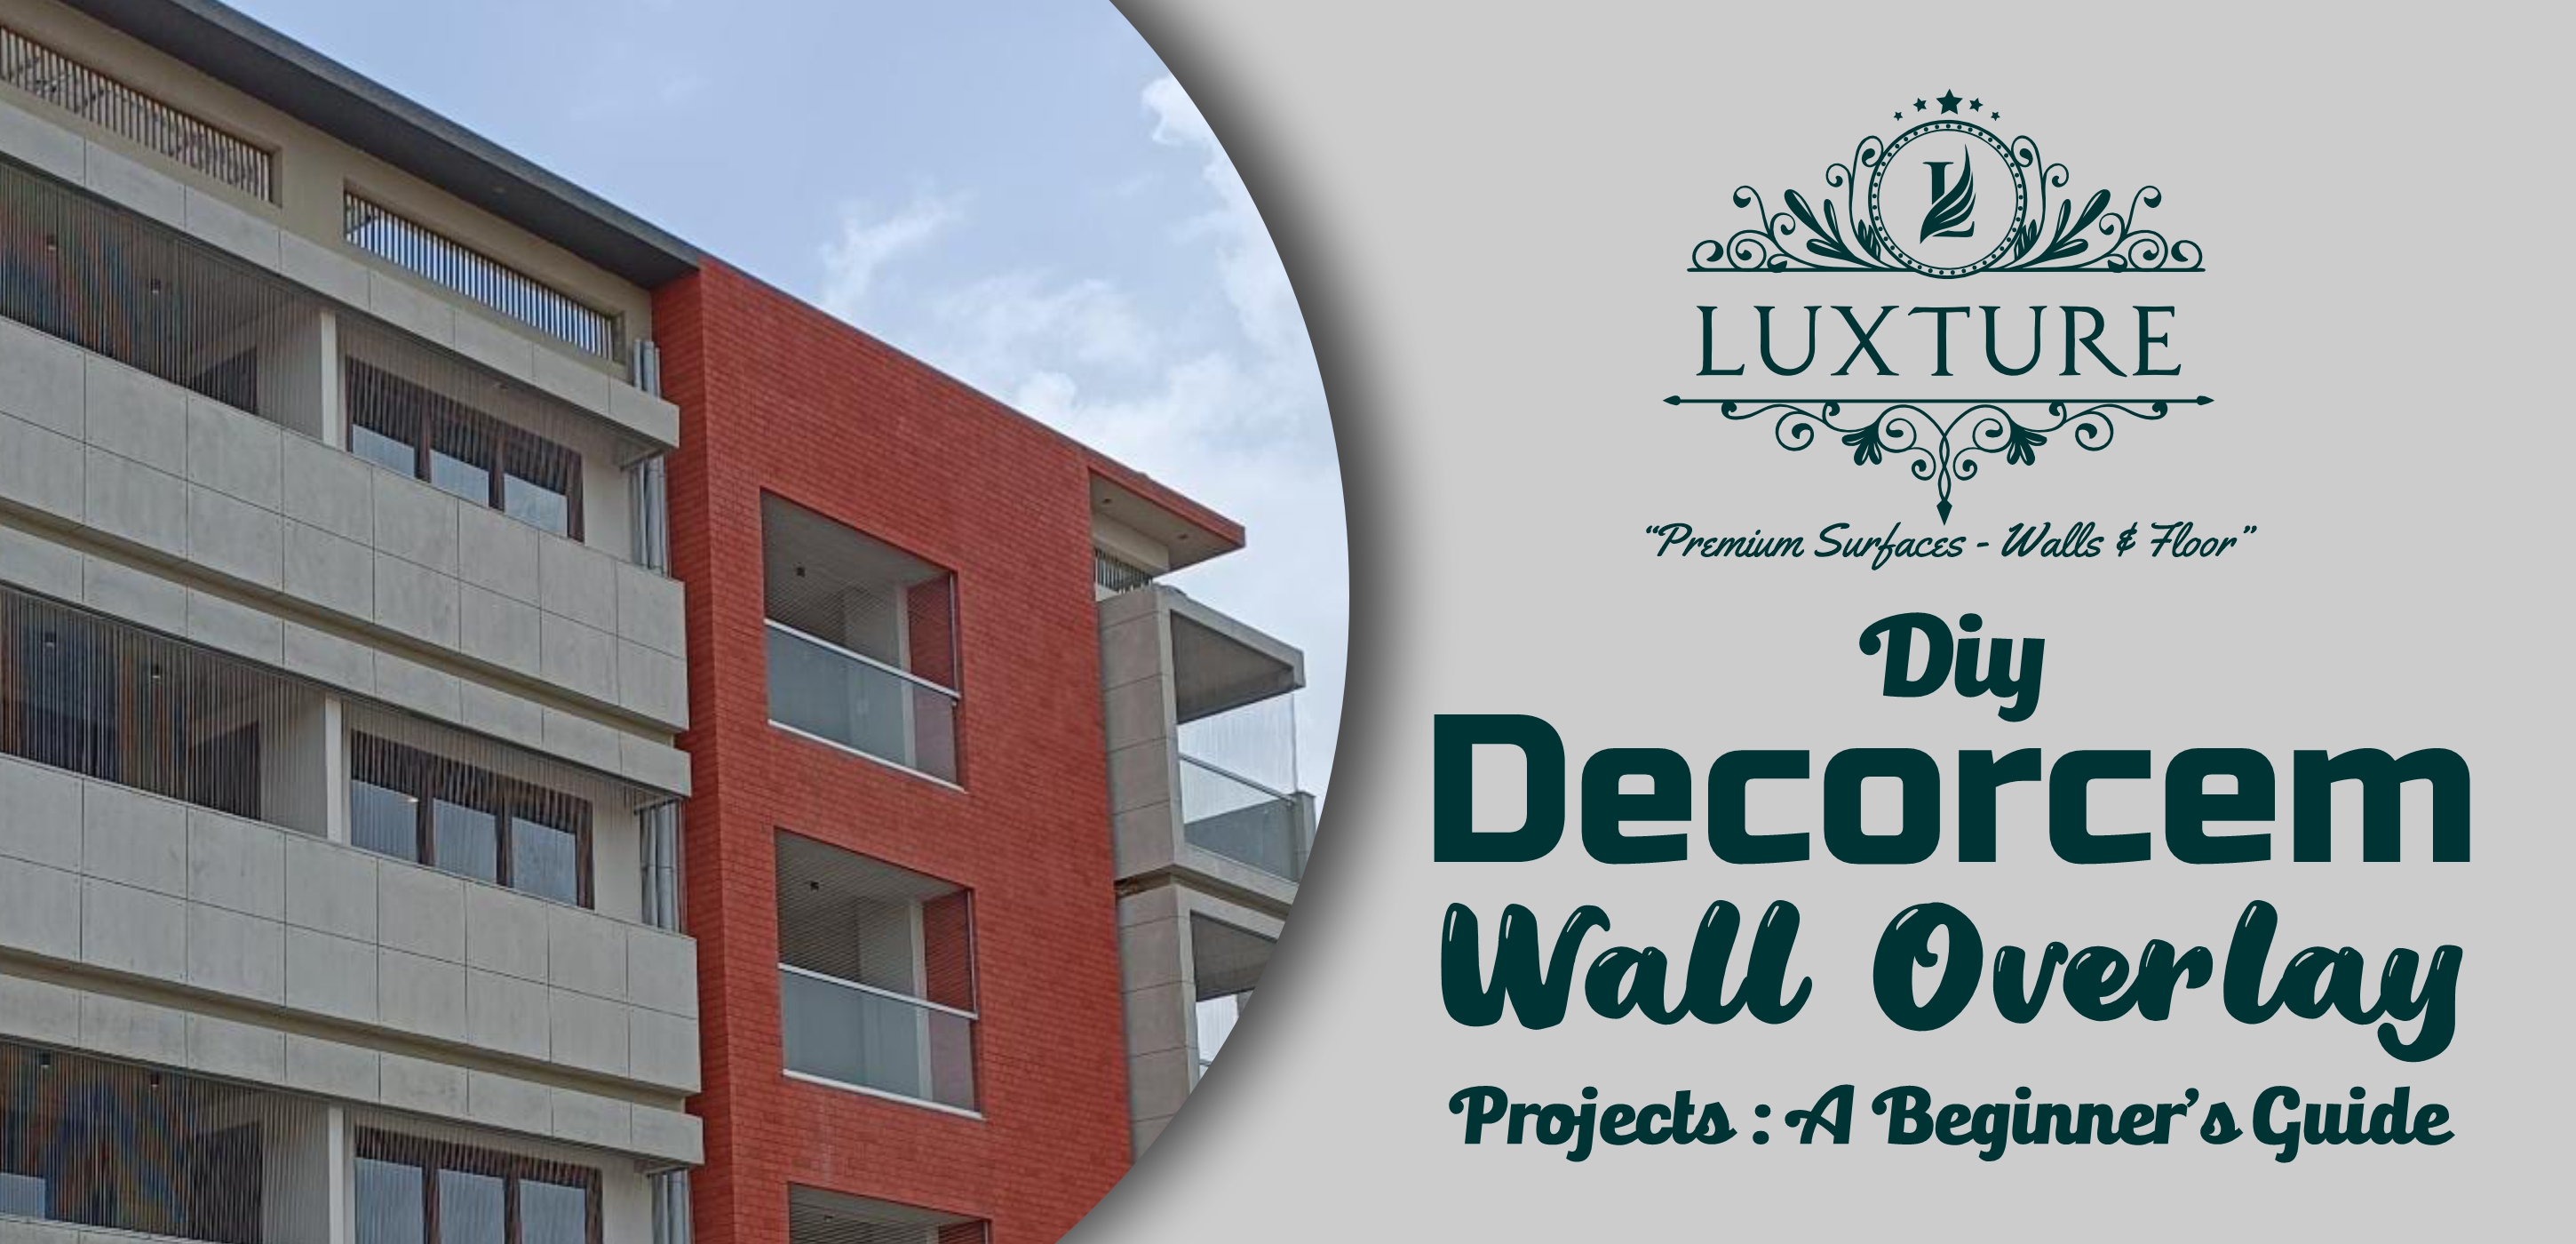
Decorcem
wall overlay has become a popular choice for homeowners looking to achieve a
modern, industrial, or minimalist aesthetic. Its seamless, concrete-like finish
can dramatically transform any space. While professional installation is an
option, DIY Decorcem projects are achievable for beginners with the right
guidance. This comprehensive guide will walk you through the process, providing
essential tips and techniques for a successful DIY experience.
What is
Decorcem?
Decorcem
is a microcement-based overlay that creates a thin, durable layer on existing
surfaces. It adheres to various materials, including drywall, plaster, tile,
and even wood, making it a versatile option for interior and exterior
applications. Its unique composition allows for various textures and finishes,
from smooth and polished to rough and textured.
Tools and
Materials You'll Need:
- Decorcem powder and liquid
polymer: The
core components of the overlay.
- Mixing container and drill
mixer: For
thoroughly blending the mixture.
- Trowels (various sizes): For applying and smoothing
the Decorcem.
- Hawk or mixing board: To hold the mixed material.
- Sanding tools (various
grits): For
achieving desired smoothness.
- Primer: To ensure proper adhesion
to the substrate.
- Sealer: To protect the finished
surface from moisture and stains.
- Drop cloths and painter's
tape: For
protecting surrounding areas.
- Gloves, dust mask, and
safety glasses: For
personal protection.
Step-by-Step
DIY Decorcem Application:
- Surface Preparation: This is the most crucial
step. The surface must be clean, dry, stable, and free of any loose
debris, grease, or paint. Repair any cracks or imperfections. Apply the
recommended primer according to the manufacturer's instructions.
- Mixing the Decorcem: Carefully follow the
manufacturer's instructions for mixing the powder and liquid polymer. Use
a drill mixer to ensure a smooth, lump-free consistency.
- Applying the First Coat: Apply a thin, even layer of
Decorcem using a trowel. Use consistent pressure and overlapping strokes
to avoid visible trowel marks. Allow the first coat to dry completely, as
per the manufacturer's recommendations.
- Applying Subsequent Coats
(Usually Two or Three): Apply subsequent coats in the same manner as
the first, allowing each coat to dry thoroughly before applying the next.
This builds up the desired thickness and texture. Lightly sand between
coats if needed to achieve a smoother finish.
- Achieving the Desired
Texture:
Various troweling techniques can create different textures. Experiment
with different trowel angles and pressures to achieve your desired effect.
- Sealing the Surface: Once the final coat is
completely dry, apply the recommended sealer to protect the Decorcem from
moisture, stains, and wear. Apply multiple coats of sealer as recommended.
Tips for
Beginners:
- Start with a small,
inconspicuous area: Practice your technique before tackling a
large, prominent wall.
- Watch tutorial videos: Visual demonstrations can
be extremely helpful.
- Work in small sections: This will give you more
control over the application.
- Don't be afraid to
experiment:
Play with different troweling techniques to create unique textures.
- Consult the manufacturer's
instructions:
Always refer to the specific instructions provided with your Decorcem
product.
Troubleshooting:
- Cracking: Ensure proper surface
preparation and avoid rapid drying.
- Peeling: Ensure proper priming and a
clean, stable surface.
- Uneven texture: Practice consistent
troweling techniques.
Conclusion:
With
careful planning, proper preparation, and attention to detail, DIY Decorcem
wall overlay projects are achievable for beginners. This guide provides a solid
foundation for your DIY journey, helping you create stunning, modern spaces
with a unique concrete aesthetic. Remember to always consult the manufacturer's
instructions for the best results with your specific product.
Disclaimer:
The information provided in this
blog post is intended for general knowledge and informational purposes only. It
does not constitute professional advice. Please consult with a qualified
professional for advice tailored to your specific needs. The author and
publisher of this blog are not responsible for any errors or omissions in the
content.