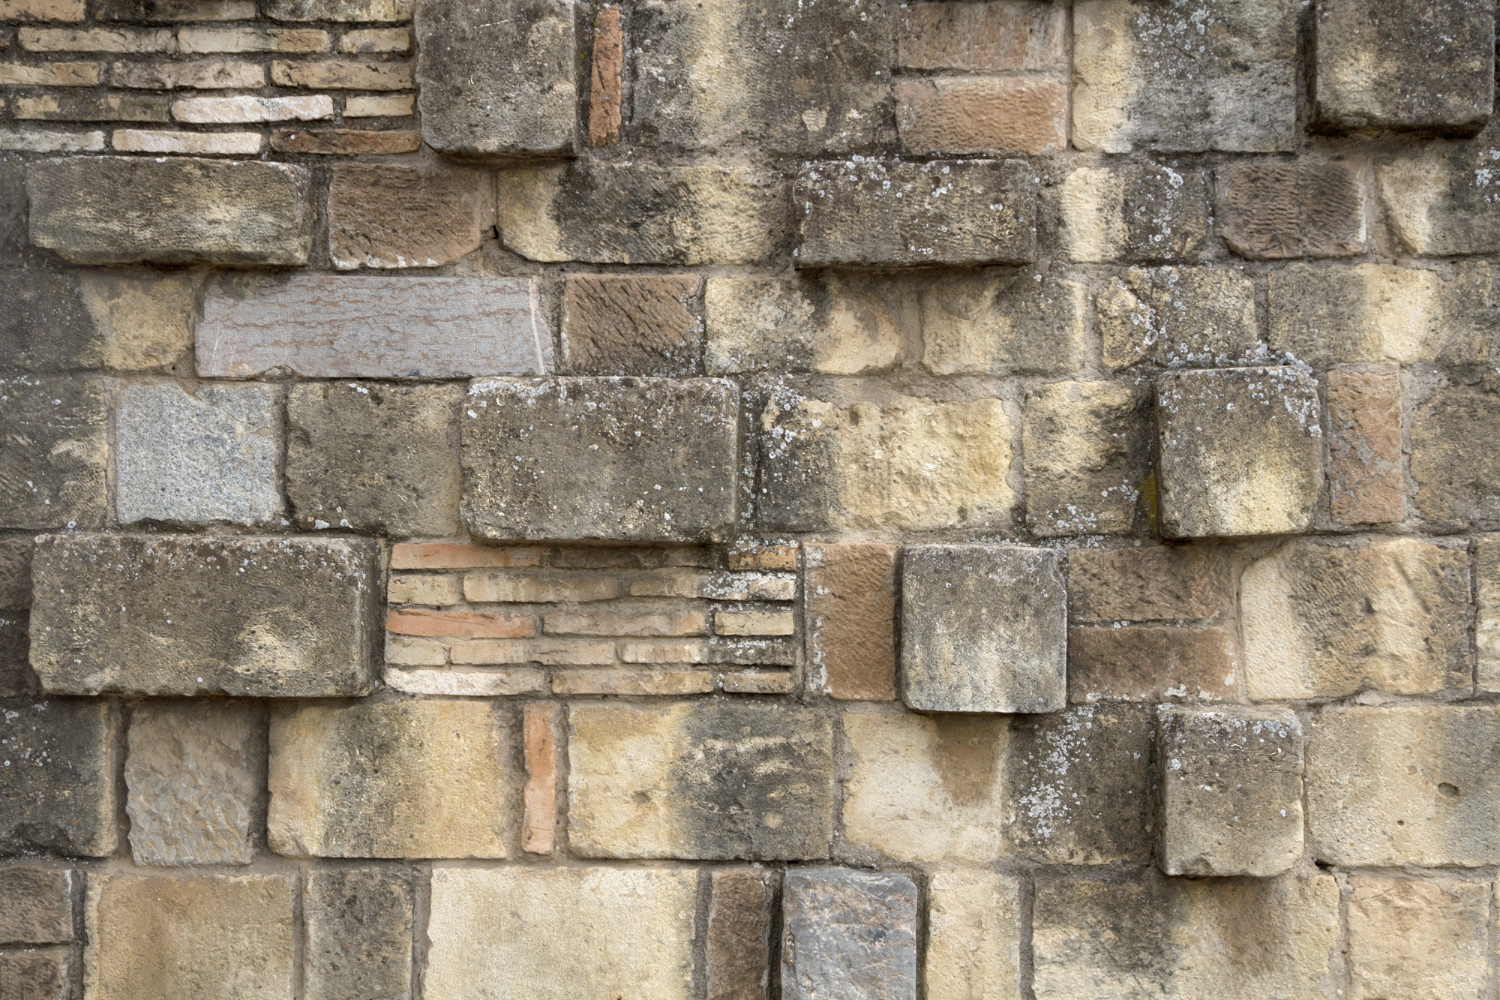
Ever looked at your home's exterior and felt something was missing? Maybe it lacks that wow factor, the element that makes it stand out in the neighborhood. You've tried painting, adding plants, and even some landscaping, but it still doesn't feel right. You want something that’s not just a temporary fix but a lasting transformation. But here comes the challenge – installing stone seems complex and intimidating. The idea of cutting stone and handling heavy materials can be overwhelming, especially if you're new to DIY projects.
The thought of tackling a stone project can leave you feeling unsure and apprehensive. The process seems daunting – where do you even start? Do you have the right tools? What about the right techniques? The fear of making mistakes, wasting materials, and the potential high costs can be discouraging.
Fear not! Installing stone on your exterior walls is more manageable than it seems, and we're here to guide you every step of the way. With the right plan, tools, and a bit of elbow grease, you can achieve a stunning transformation. This guide will break down the process into simple, easy-to-follow steps, making your DIY stone cladding project a success.
Before we get started, gather all necessary materials and tools. Preparation is key to a smooth installation process.
Materials:
Stone cladding panels
Mortar or adhesive
Sealer
Grout (if required)
Backer board (if needed)
Tools:
Measuring tape
Level
Trowel
Utility knife
Wet saw for cutting stone
Safety gear (gloves, goggles)
Brushes for cleaning and sealing
Start by preparing the exterior wall. Clean the surface thoroughly to remove any dirt, grease, or loose material. A clean surface ensures better adhesion for the stone.
Measure the area where you plan to install the stone. Use a level to mark out straight lines and ensure your measurements are accurate. Planning helps you determine how many stone panels you'll need and where cuts will be necessary.
Cutting stone can be intimidating, but with a wet saw, it becomes manageable. Wet saws are designed to cut through stone and tile smoothly.
Steps:
Mix your mortar or adhesive according to the manufacturer's instructions. Using a trowel, apply a generous amount to the back of the stone and the wall.
Steps:
Start from the bottom and work your way up. This method ensures that each row supports the one above it.
Steps:
Once all the stone is in place, allow the adhesive to dry according to the manufacturer's recommendations. After it’s dry, apply a sealer to protect the stone and upgrade its natural color.
Steps:
If grout is needed, apply it between the stone panels once the sealer is dry. Use a grout float to press it into the gaps and then wipe away any excess with a damp sponge.
Steps:
Congratulations! You’ve successfully installed stone on your exterior walls. This DIY stone cladding project not only adds elegant appearance but also increases the value and durability of your home. Remember, the key to a successful installation is preparation, patience, and attention to detail. Enjoy your beautiful new exterior wall cladding and the admiration it brings .
1. What is stone cladding?
Stone cladding is a thin layer of natural or artificial stone applied to a building's exterior walls to enhance their appearance and durability.
2. What tools do I need for installing stone cladding?
You'll need measuring tape, a level, a trowel, a utility knife, a wet saw for cutting stone cladding, and safety gear like gloves and goggles.
3. Can I install stone cladding on any exterior wall?
Yes, can be installed on most exterior walls. However, it's crucial to prepare the surface properly by cleaning it and, if necessary, installing a backer board to ensure a flat, stable surface.
4. How do I cut stone cladding?
Use a wet saw to cut stone. Mark where you need to cut, wear safety gear, and carefully guide the stone through the saw.


