29,Nov,2024
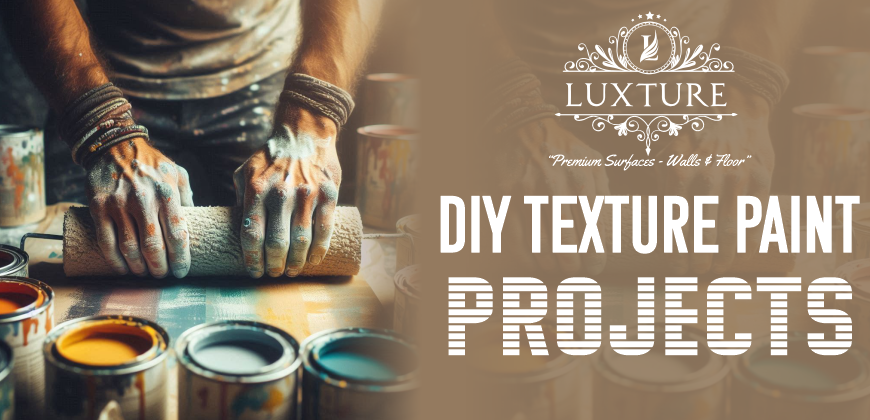
DIY Texture Paint Projects: Easy and Affordable Id
Tired of
plain, boring walls? Want to add a touch of personality and style to your home
without breaking the bank? DIY texture paint projects are the perfect solution!
With a little creativity and some basic materials, you can transform your walls
into stunning works of art.
Why DIY
Texture Paint?
- Affordability: DIY texture paint projects
are budget-friendly, allowing you to achieve professional-looking results
without the high cost of hiring a painter.
- Customization: You have complete control
over the design and texture, ensuring a unique and personalized look.
- Creative Outlet: Experiment with different
techniques and materials to unleash your inner artist.
- Enhanced Space: Texture paint can add
depth, dimension, and visual interest to any room.
Essential
Materials
Before
you dive into your DIY project, gather these essential materials:
- Paint: Choose a high-quality
interior paint that suits your desired finish.
- Paintbrushes and Rollers: Different tools create
different textures.
- Texture Medium: This can be anything from
sand to drywall compound.
- Protective Gear: Wear gloves, a mask, and
eye protection to avoid paint splashes.
- Drop Cloths: Protect your floors and
furniture from paint spills.
Easy DIY
Texture Paint Techniques
- Sponge Painting:
- Dip a sea sponge into
paint.
- Dab the sponge onto the
wall in a random pattern.
- Experiment with different
sponge shapes and dabbing techniques.
- Rag Rolling:
- Dip a crumpled piece of
cloth into paint.
- Roll the cloth over the
wall to create a textured effect.
- Vary the pressure and
rolling direction for different patterns.
- Comb Texture:
- Apply a thick coat of paint
to the wall.
- Drag a comb or textured
roller through the wet paint to create lines or patterns.
- Adjust the spacing and
depth of the lines for desired effects.
- Sand Texture:
- Mix sand or drywall
compound into your paint.
- Apply the mixture to the
wall with a trowel or brush.
- Smooth or roughen the
surface to create different textures.
- Stenciling:
- Choose a stencil with your
desired pattern.
- Apply a layer of paint to
the stencil.
- Press the stencil onto the
wall and remove it to reveal the design.
Tips for
Successful DIY Texture Painting
- Prepare the Surface: Ensure your walls are
clean, dry, and free of any imperfections.
- Test Your Technique: Practice on a small area
before tackling the entire wall.
- Work in Sections: Divide your wall into
smaller sections to maintain a consistent texture.
- Clean Your Tools: Clean your brushes and
rollers immediately after use to prevent the paint from drying.
- Let It Dry: Allow the paint to dry
completely before applying a top coat or adding any additional layers.
Conclusion
DIY
texture paint projects offer a fun and affordable way to personalize your home
decor. By following these easy techniques and tips, you can create stunning
textured walls that will impress your guests. So, roll up your sleeves, get creative,
and transform your space today!
Disclaimer:
The information provided in this
blog post is intended for general knowledge and informational purposes only. It
does not constitute professional advice. Please consult with a qualified
professional for advice tailored to your specific needs. The author and
publisher of this blog are not responsible for any errors or omissions in the
content.


