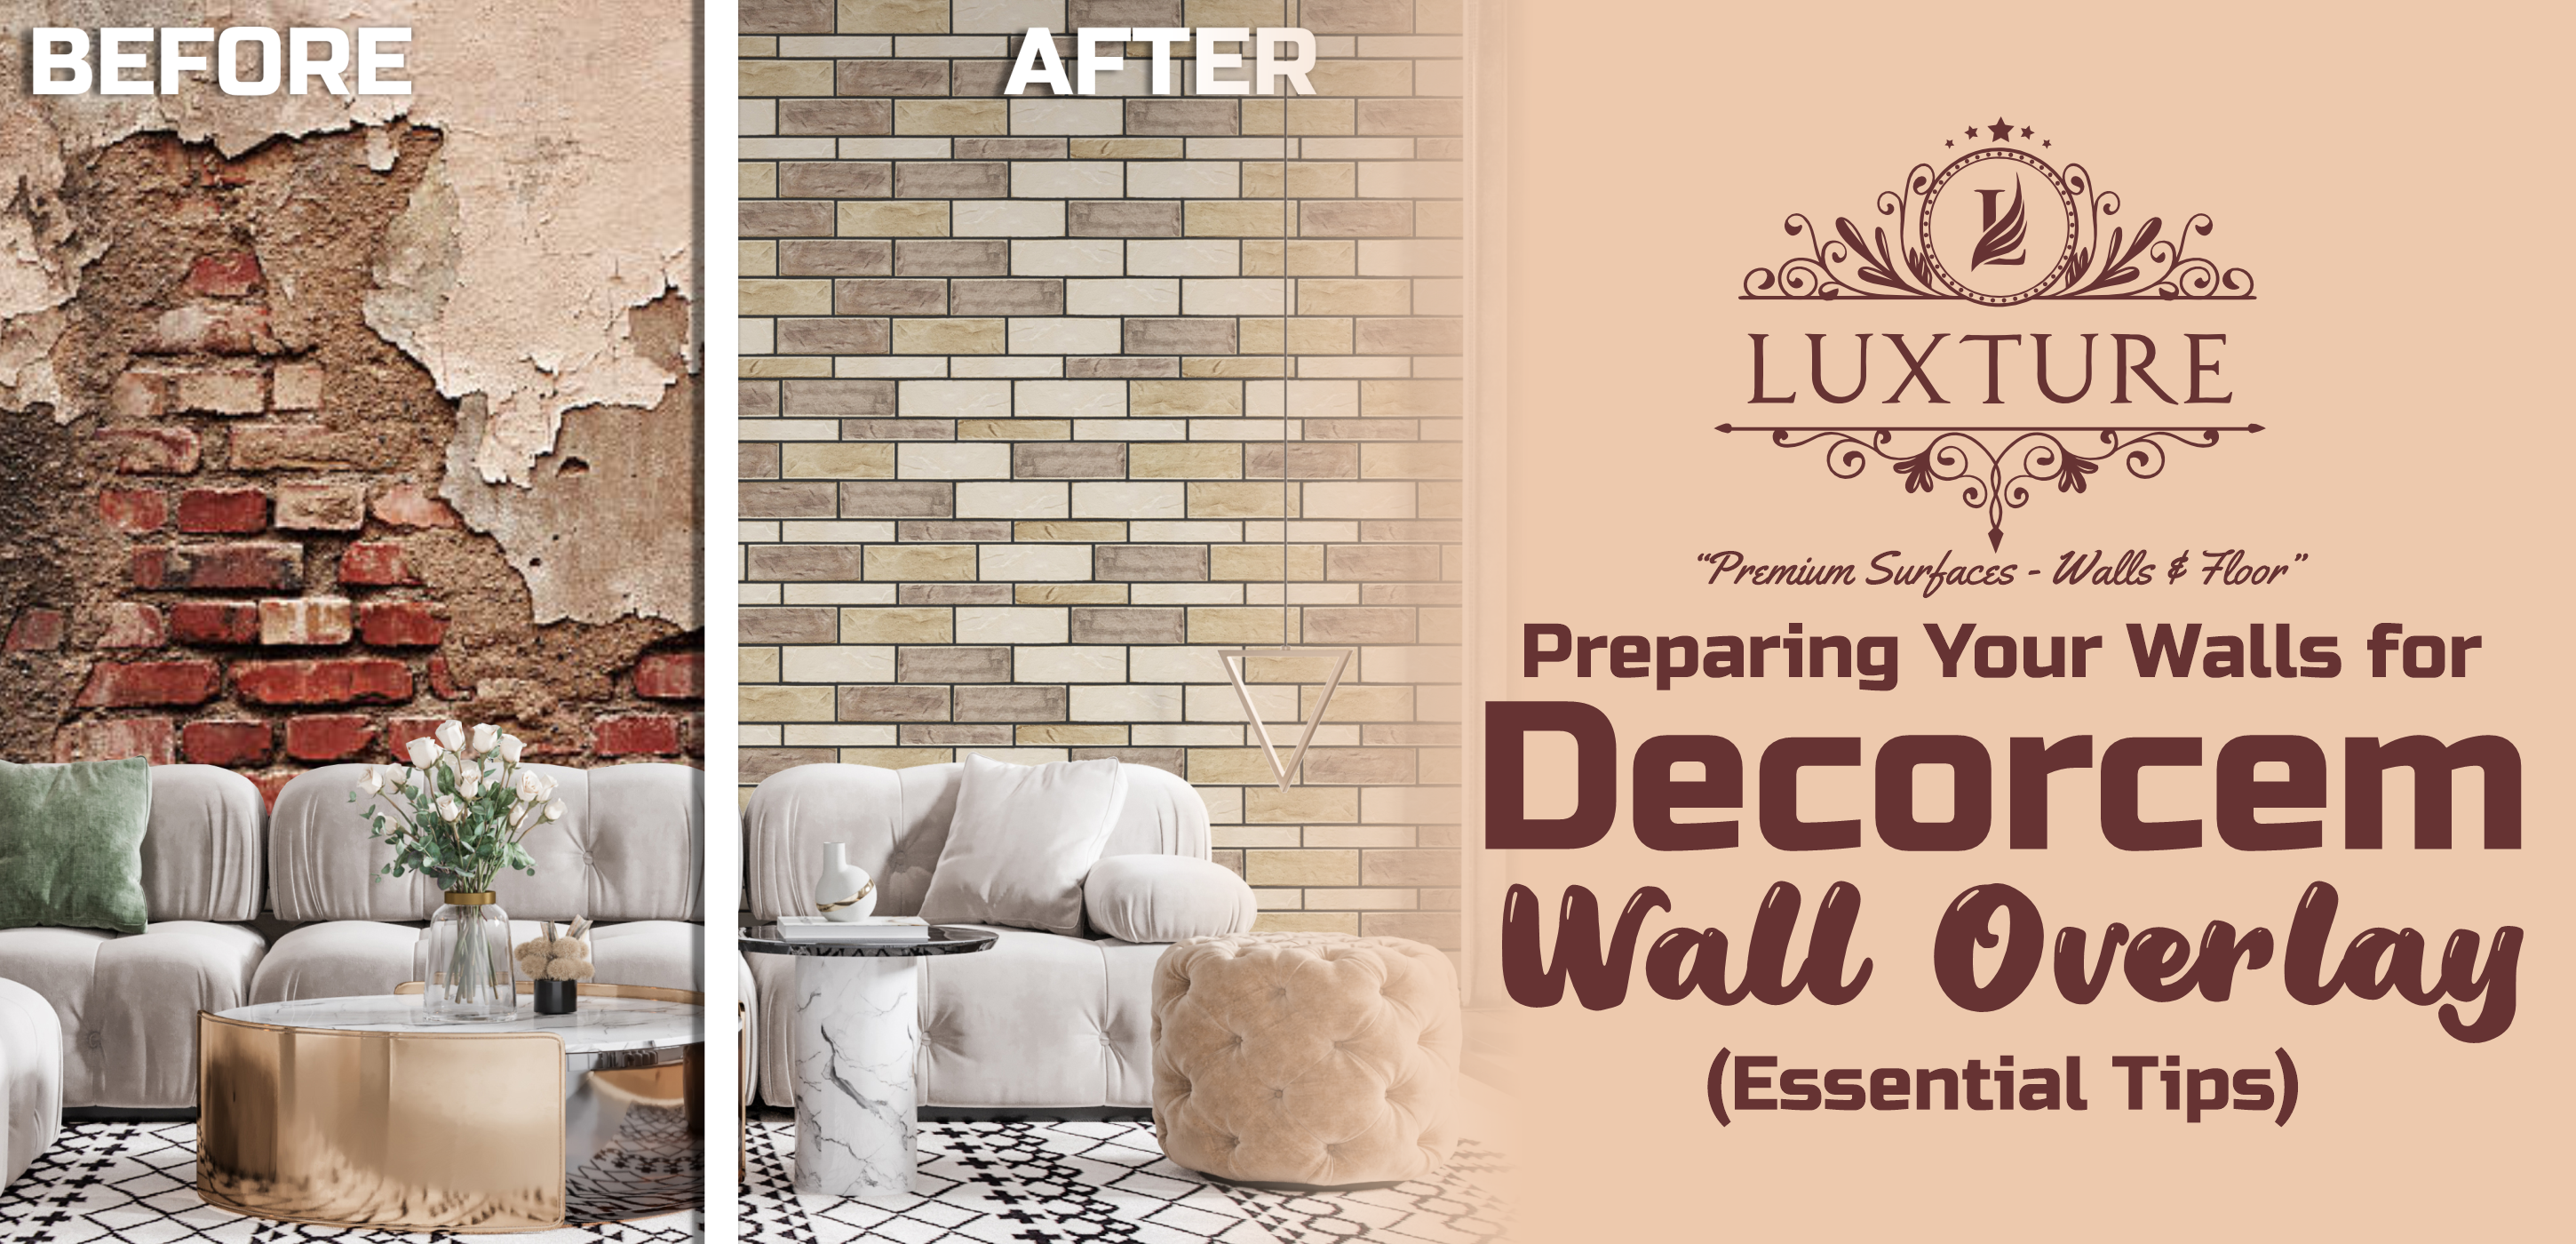
Preparing Your Walls for Decorcem
17,Dec,2024

Preparing Your Walls for Decorcem

Decorcem wall overlay offers a modern, sleek aesthetic, transforming ordinary walls into stunning focal points. Whether you're aiming for an industrial chic look or a minimalist design, proper wall preparation is crucial for a successful and long-lasting application. This guide outlines the essential steps to ensure your walls are perfectly primed for Decorcem.


Why Proper Preparation Matters

Think of wall preparation as the foundation of your Decorcem project. A poorly prepared surface can lead to a range of issues, including:

  • Poor Adhesion: The overlay may not bond correctly, leading to peeling, cracking, or bubbling.
  • Uneven Finish: Imperfections on the wall will show through the overlay, compromising the final look.
  • Reduced Durability: A weak bond can make the overlay more susceptible to damage.

Essential Steps for Preparing Your Walls

  1. Inspection and Cleaning:
    • Begin by thoroughly inspecting your walls for any existing damage, such as cracks, holes, or loose plaster.
    • Clean the wall surface to remove dirt, dust, grease, grime, and any other contaminants. Use a mild detergent solution and a sponge or cloth. For stubborn grease, a degreaser may be necessary. Rinse with clean water and allow the wall to dry completely.
  1. Repairing Imperfections:
    • Cracks and Holes: Fill any cracks or holes with a suitable filler, such as patching compound or joint compound. For larger cracks, consider using fiberglass mesh tape for added reinforcement. Allow the filler to dry completely according to the manufacturer's instructions, then sand smooth.
    • Loose Plaster: Remove any loose or crumbling plaster. If the area is extensive, you may need to patch it with new plaster or a suitable repair mortar.
  1. Sanding (If Necessary):
    • If your walls have a glossy paint finish or are heavily textured, you may need to lightly sand them to create a better surface for adhesion. Use medium-grit sandpaper followed by fine-grit sandpaper for a smooth finish. Remove any sanding dust with a damp cloth.
  2. Priming:
    • Priming is a critical step. It creates a uniform surface and improves the bond between the wall and the Decorcem overlay. Use a high-quality primer specifically designed for concrete or cementitious products. Apply the primer according to the manufacturer's instructions, ensuring even coverage. Allow the primer to dry completely before applying the Decorcem.
  1. Specific Considerations:
    • Previously Painted Walls: If the existing paint is in good condition, you may only need to clean and prime. However, if the paint is peeling or flaking, it must be removed before proceeding.
    • Drywall: Ensure all joints are properly taped and mudded. Prime as usual.
    • Tiles: For applying Decorcem over tiles, a special bonding primer designed for non-porous surfaces is essential. Consult the Decorcem manufacturer for specific recommendations.

Choosing the Right Primer

Selecting the correct primer is crucial. Consult the Decorcem manufacturer's guidelines for recommended primers. Using the wrong primer can lead to adhesion problems.

Conclusion

By following these essential tips for preparing your walls, you'll create the ideal foundation for a successful Decorcem wall overlay project. This meticulous preparation will ensure a flawless finish, enhanced durability, and a stunning transformation that will last for years to come. Remember to always consult the Decorcem manufacturer's instructions for specific product information and application guidelines.

Disclaimer:

The information provided in this blog post is intended for general knowledge and informational purposes only. It does not constitute professional advice. Please consult with a qualified professional for advice tailored to your specific needs. The author and publisher of this blog are not responsible for any errors or omissions in the content.

Recent Post

BRANDS WE HAVE ASSOCIATED

Harley Motor
Audi
MG
Levis
Ultratech
United
Harley
Mercedes
Adidas
Ralph
EIL